The Ultimate Step-by-Step Guide to Create the Perfect Smokey Eye Makeup Look
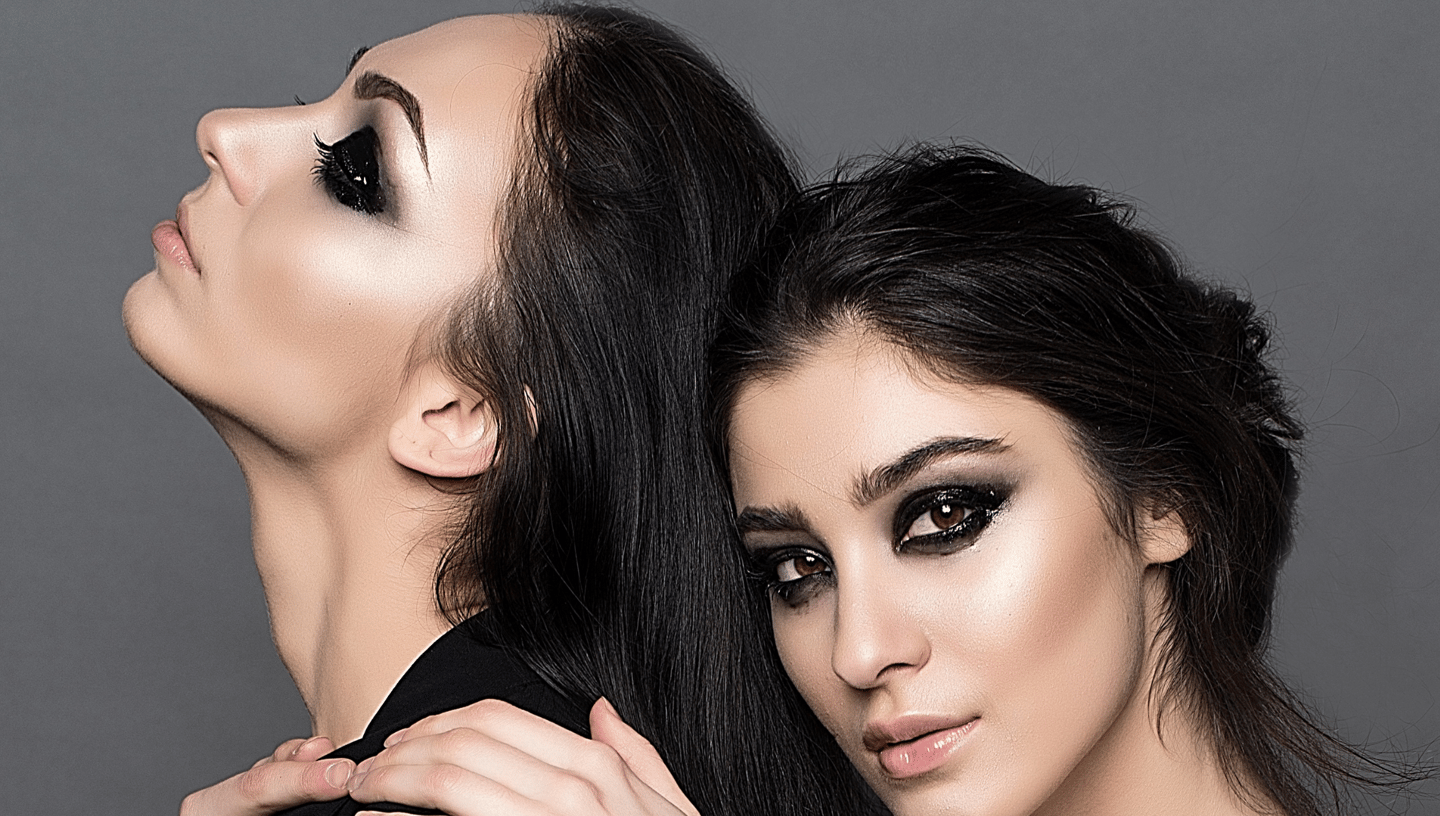
The smokey eye is a timeless and versatile makeup look that adds depth and drama to your eyes. Whether you're preparing for a night out or simply want to enhance your features, mastering the art of the smokey eye can elevate your makeup game. In this step-by-step guide, we will outline the essential techniques to help you achieve a flawless smokey eye that suits any occasion.
Step 1: Gather Your Tools and Products
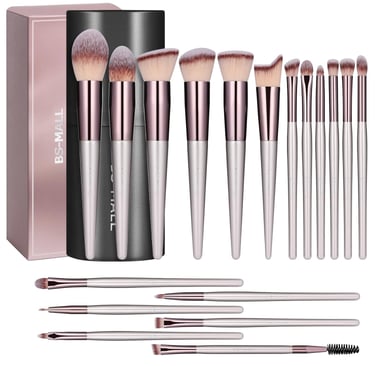
Before embarking on your smokey eye journey, it's important to gather all the necessary equipment. The basic tools you'll need include:
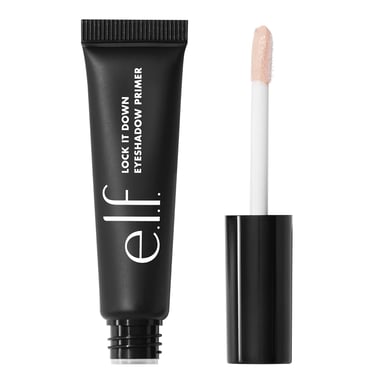
Eyeshadow primer: Helps create a smooth, crease-free base for your eyeshadow.
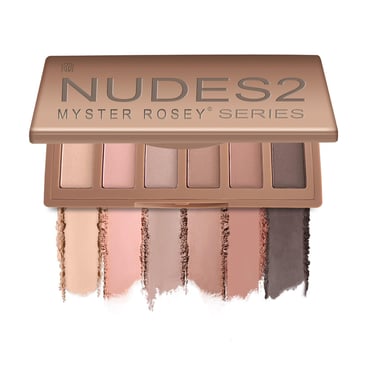
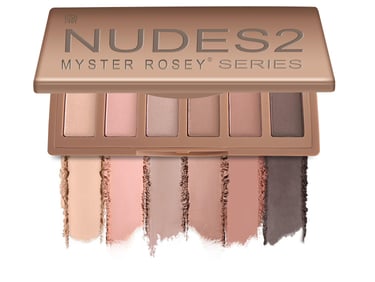
Neutral eyeshadow palette: Choose one with light, medium, and dark shades for versatility.
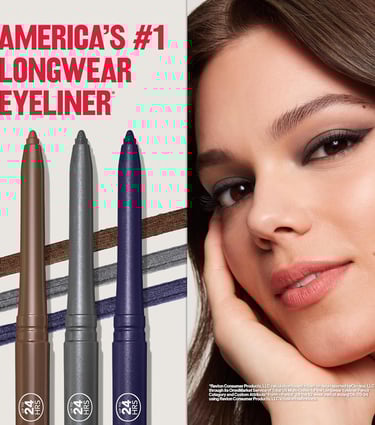
Eyeliner: A pencil, gel, or liquid liner in black or dark brown for definition.
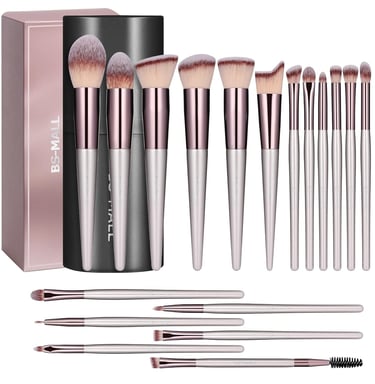
Makeup brushes: A blending brush, flat shader brush, and smudge brush are essential for precision.
Mascara: Opt for a volumizing formula to enhance your lashes.
Having these tools ready will streamline the application process and provide a seamless finish. Choose colors that flatter your complexion, with dark shades for the crease and a lighter color for the lids. Before you begin, ensure you have the following items:
Step 2: Prime Your Eyes
For a successful smokey eye, the first step is to prime your eyelids using an eyeshadow primer to create a smooth canvas. Apply a small amount evenly over the entire lid and allow it to dry briefly.
Next, take a concealer to cover any imperfections and discoloration, setting it with a bit of translucent powder to avoid creasing throughout the night. This base will enhance the pigment of the shadows you will layer on top.This step prevents creasing and ensures your eyeshadow stays vibrant all day. If you don’t have a primer, a thin layer of concealer or foundation can serve as an alternative.
Step 3: Apply Eyeshadows
Now, it's time to apply the darker eyeshadow. Start with a darker shade in the crease, using a fluffy blending brush. Apply it in circular motions, ensuring it blends seamlessly into the skin. Gradually build up the color until you achieve your desired intensity.
Next, choose a medium shade for the lid and apply it across the eyelid using a flat brush, evening it out for a smooth look. You may then use a shimmery or light shade to highlight the inner corner of the eyes and under the brow bone for brightness.
Remember, the key to a perfect smokey eye is blending. Use a clean blending brush to ensure there are no harsh lines between the colors.
Step 4: Define the Eyes
Once your eyeshadows are applied and blended, it's time to define your eyes further with eyeliner. Apply your chosen eyeliner along your upper lash line, creating a soft wing if desired. You can also apply eyeliner on the lower lash line, blending it out for that classic smokey effect.
Finish the look by curling your lashes and applying multiple coats of mascara. This will accentuate your eyes, making the smokey look pop even more.
Step 5: Define with Eyeliner
Line your upper lash line with an eyeliner of your choice. For a classic smokey look, opt for a creamy black or dark brown pencil eyeliner. Draw a thin line close to your lashes and smudge it gently with a small brush or your fingertip to soften the edges. For a bolder look, extend the liner slightly beyond the outer corner of your eye. You can also apply the liner to your waterline for extra drama.
Step 6: Highlight the Inner Corner and Brow Bone
To brighten and open up your eyes, apply a shimmery or light-colored eyeshadow (like champagne, pearl, or soft gold) to the inner corners of your eyes. Use a small brush for precision. Add the same highlight shade just below your brow bone to lift and define your brows.
Step 7: Blend, Blend, Blend
Blending is the secret to a flawless smokey eye. Use a clean blending brush to soften any harsh lines and ensure all the shades transition smoothly into one another. Take your time with this step to achieve a polished, professional finish.
Step 8: Finish with Mascara
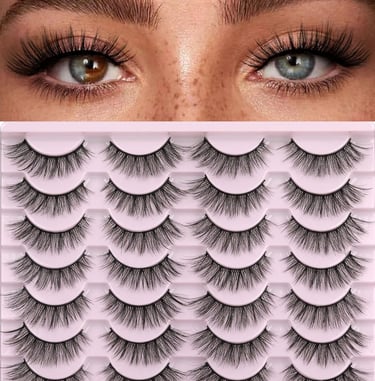
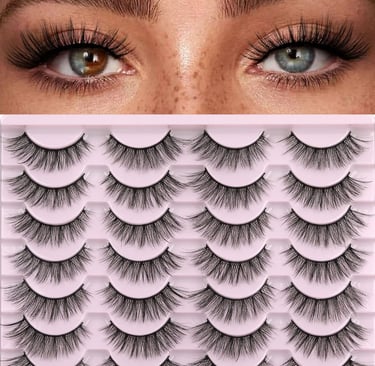
Complete your look by applying two to three coats of volumizing mascara to your upper and lower lashes. Start at the base of your lashes and wiggle the wand upward to create lift and separation. For a more dramatic effect, consider adding a pair of false lashes. Trim them to fit your eye shape for a natural appearance.
Pro Tips for the Perfect Smokey Eye
Start light and build up: It’s easier to add more color than to remove excess, so begin with a small amount of product and layer gradually.
Use quality brushes: Investing in good brushes makes blending much easier and ensures a professional-looking result.
Practice makes perfect: Don’t be discouraged if your first attempt isn’t flawless. With practice, your technique will improve.
Adjust for your eye shape: Tailor the placement of your eyeshadow to enhance your unique eye shape. For example, those with hooded eyes may need to blend higher above the crease.
With these detailed steps, you’re ready to create a stunning smokey eye for your next event or night out. Don’t be afraid to experiment with different color combinations and finishes to make the look uniquely yours. Happy blending!
Achieving the perfect smokey eye can be daunting, but with the right tools and techniques, you can achieve this chic and captivating look with ease. Practice these steps, and soon you'll become proficient in mastering the smokey eye, ensuring your makeup looks polished and perfectly stunning for any occasion.


As an Amazon Associate, I earn from qualifying purchases. This means that if you click on a link and make a purchase, I may receive a small commission at no extra cost to you. I only recommend products I genuinely love and believe will add value to your beauty and skincare routine.